
Note
Review Live Optics Glossary before proceeding with the lab to familiarize yourself with common terminology used in Dell Live Optics.
In this exercise you will learn about Dell DPACK, and the information you can use for your Nutanix sizing.
Dell Live Optics is a performance collection tool.
It provides Agentless monitoring for the following:
The Collector is not an installation package. You just need to run the .exe file.
Why would you want to use Live Optics?
We need to collect more accurate data from the storage layer: Reads & Writes IOPS, IO Size, Disk Throughput, Average Daily Write, etc.
Note
We recommend running Live Optics for a 24h collect, then a second time over a 7 days period to get more accurate data and validate your sizing.
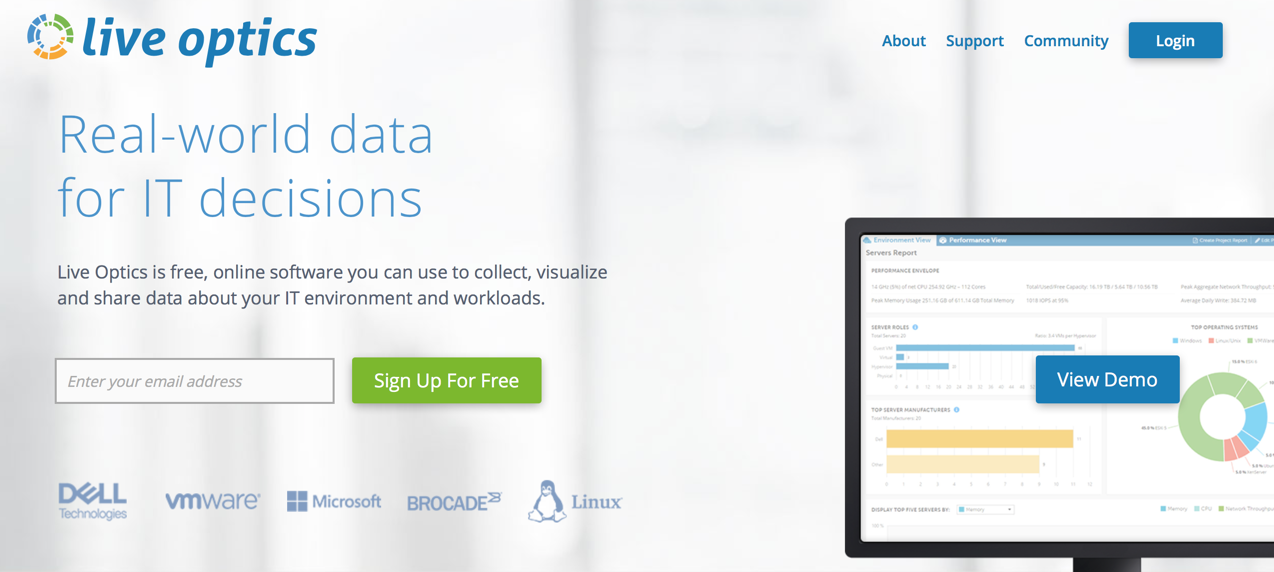
In Web Browser go to - https://www.liveoptics.com
Enter your email address, and click Sign Up For Free
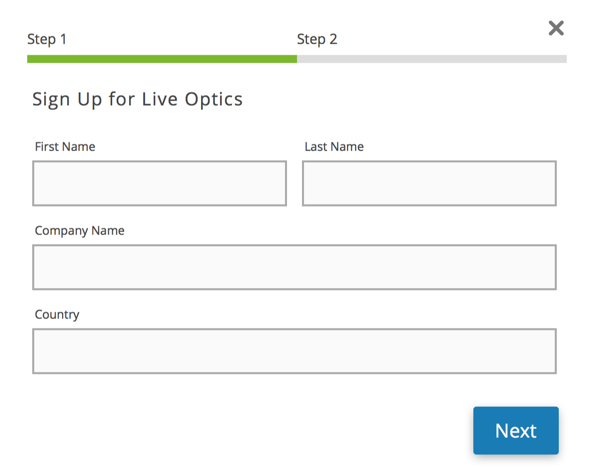
Enter the following information, and click Next:
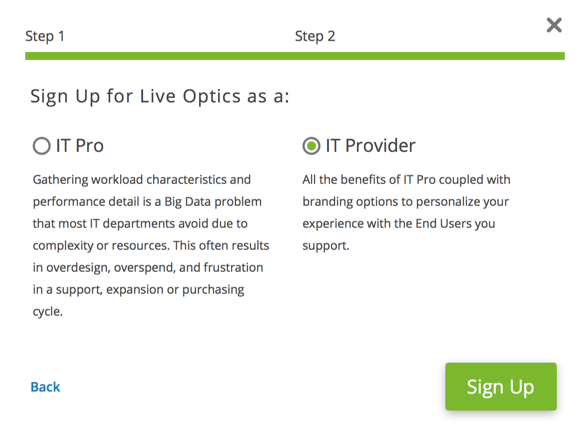
Select IT Provider, and click Sign Up.
Now click Done, and wait for your account to be created/activated (could be 24 hours)
Once you receive the email, follow the instructions to complete the account creation.
In Web Browser go to - https://www.liveoptics.com
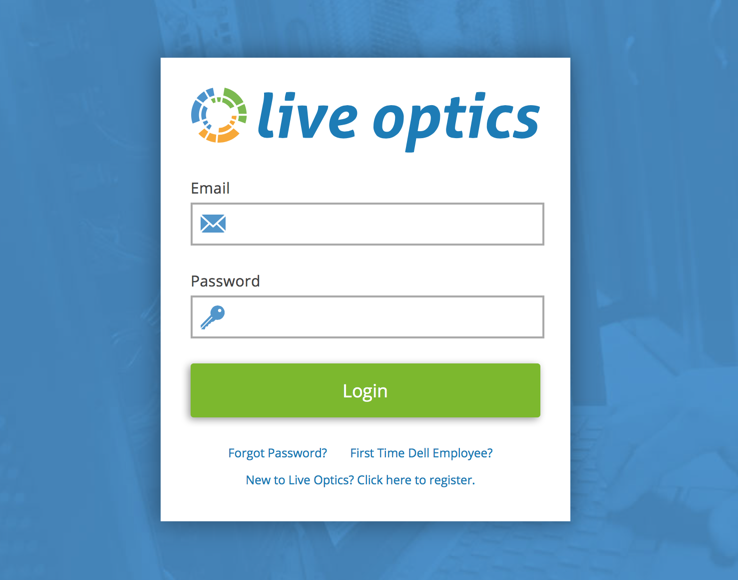
Click the Login button.
Enter your email and password, and click Login.
Now you will click Request Capture, and enter the email address of the prospect or customer you want to have run Live Optics collection.
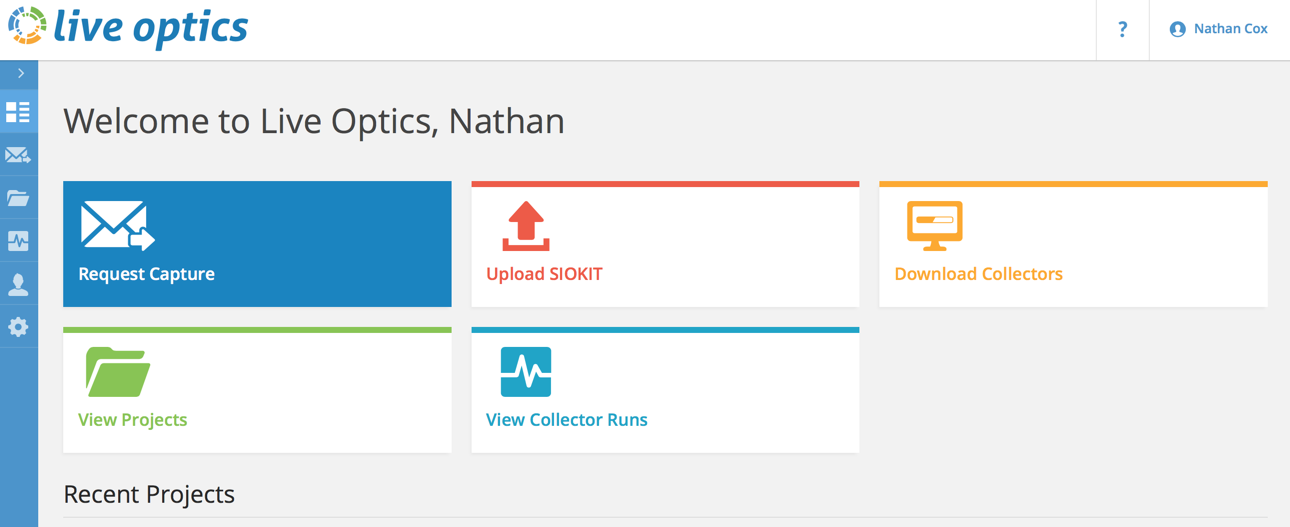
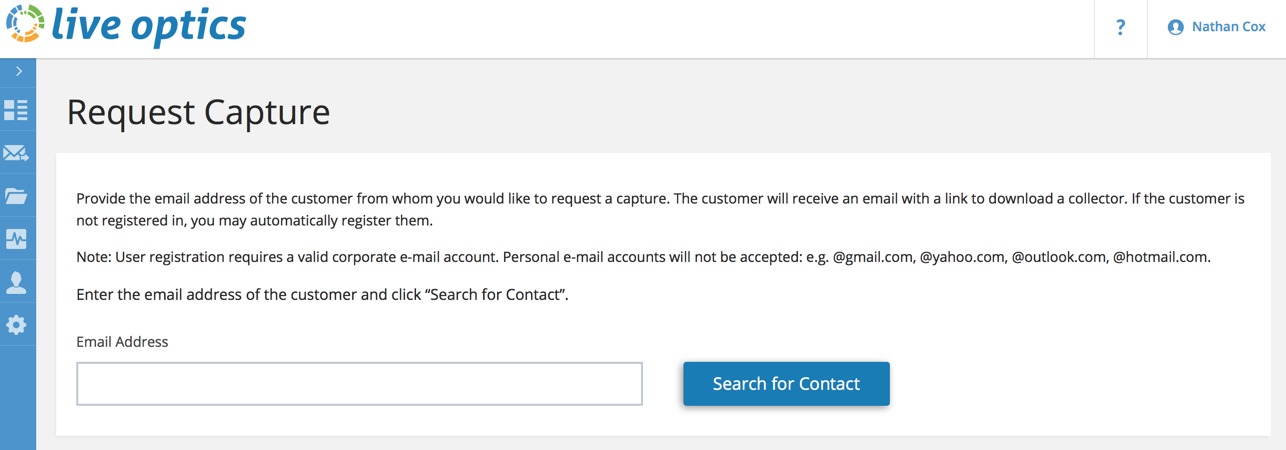
If the prospect or customer does not have a Live Optics account, you will be prompted create one for them.

Complete the information, and click Send Request.
The prospect or customer will receive an email with a link to download the Collector.
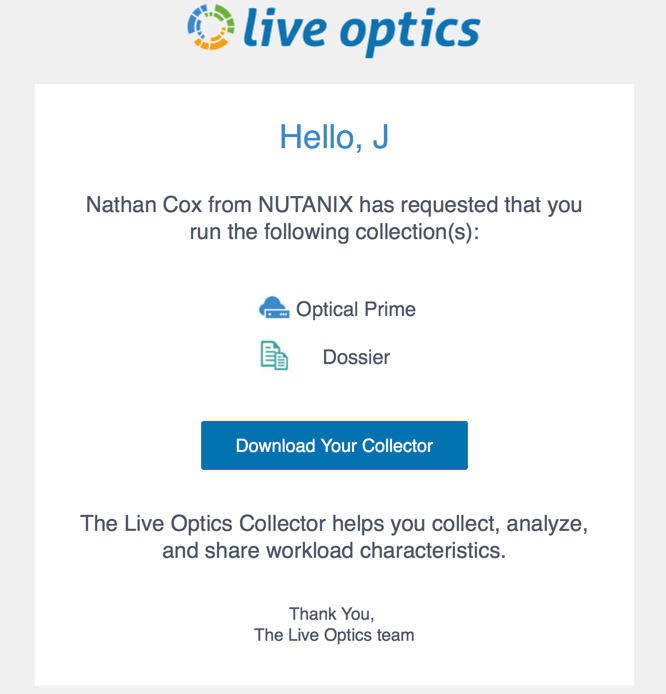
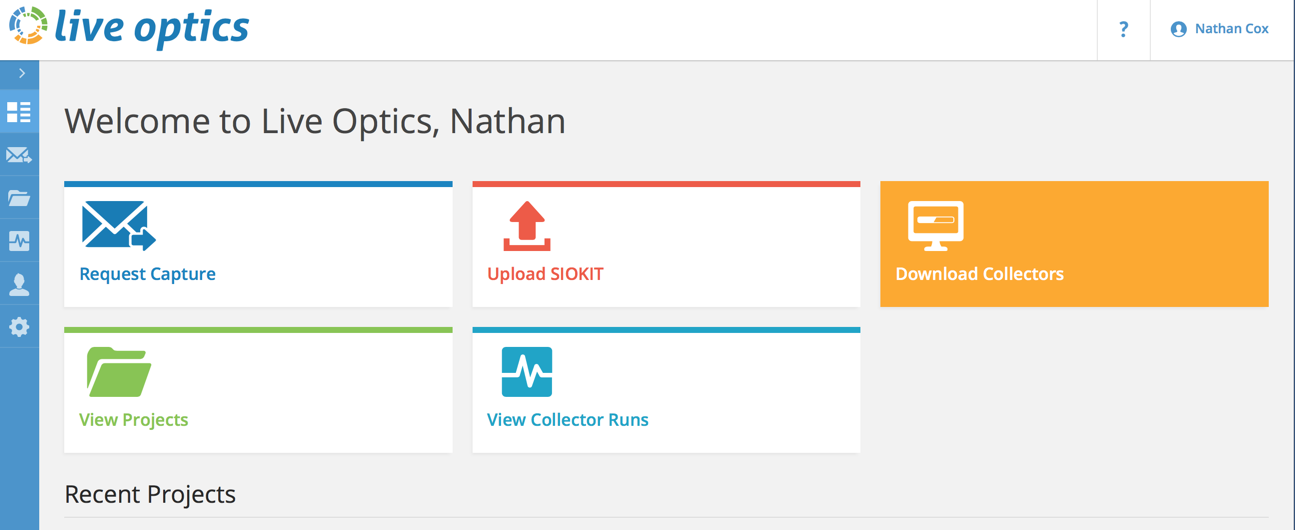
You can also download the collectors directly. You would do this when the customer is not in Dell’s CRM, or they are unable to connect directly to Dell’s Live Optics SaaS servers.
To do this, click on Download Collectors, and then download the collector you need.
Note
When using the collector in standalone mode, you will need to generate a SIOKIT file. You will then upload that file on the Live Optics website.
Unzip LiveOptics.zip on the windows machine you will be running the collection from.
Next you will launch LiveOpticsDotNet4_5.exe.
Choose your language, and click Get Started.

Click Yes, I Agree on the Terms and Conditions.
Confirm the user account information for Live Optics, and click Yes, It Is Correct.
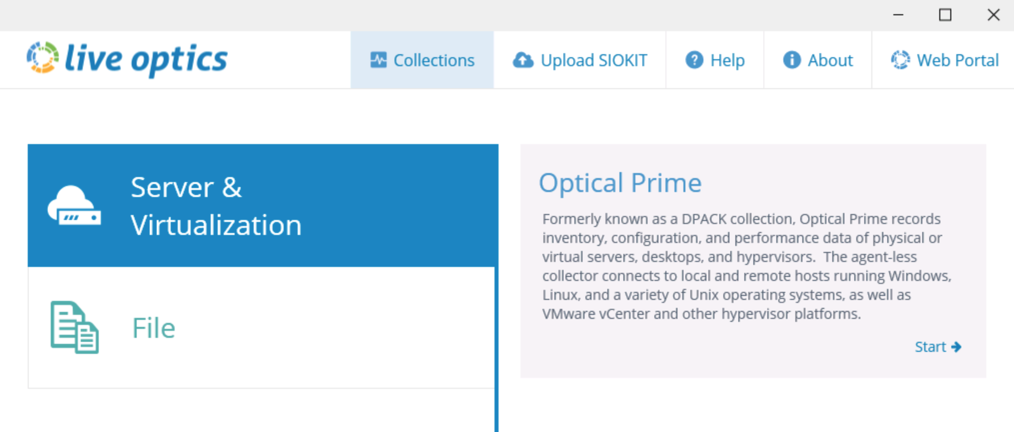
Select Server & Virtualization, and click Start -> on Optical Prime (Formally known as DPACK).
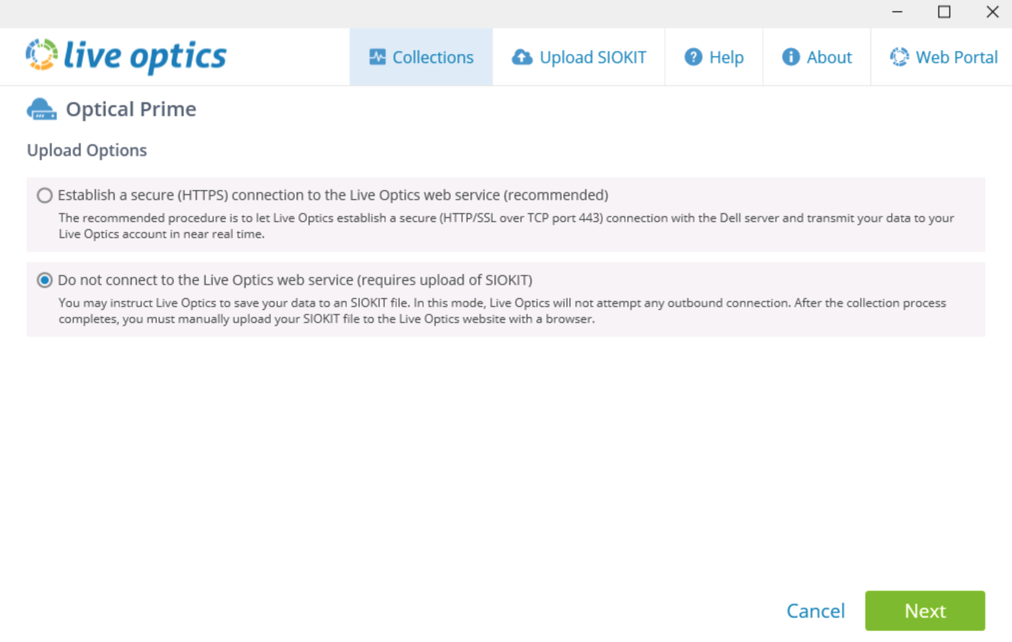
Next choose if you want to connect to the Live Optics web service (automatically uploads SIOKIT), or if you want to run in standalone mode (requires manual upload of SIOKIT).
Make your selection, and click Next. For this exercise we are selecting not to connect to Live Optics web service.
Note
If you choose to connect to Live Optics web service you can choose a collection time from 10 minutes to 7 days. If you choose to not connect to Live Optics web service (standalone mode), your options are 10 minutes to 24 hours.
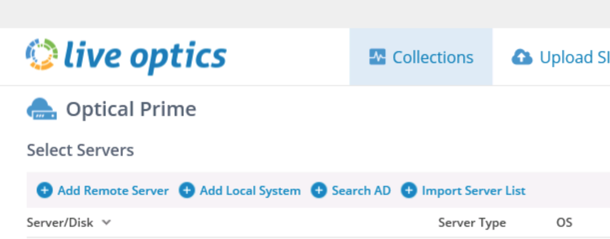
Click Add Remote Server.
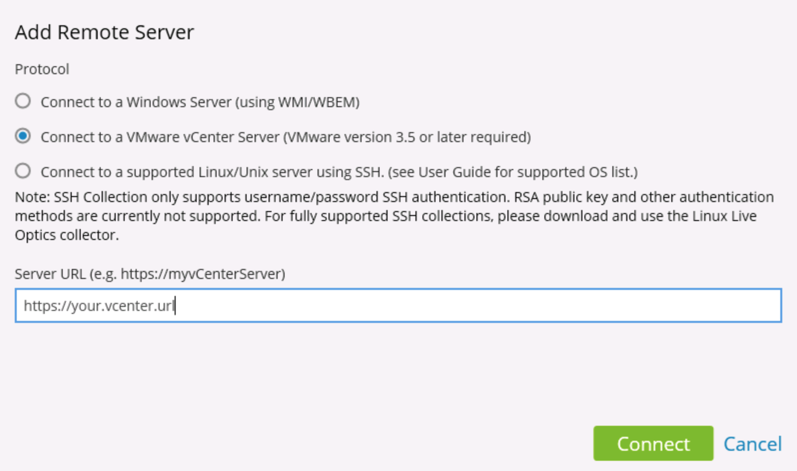
Select the option to connect to VMware vCenter Server, enter the vCenter URL, and then click Connect.
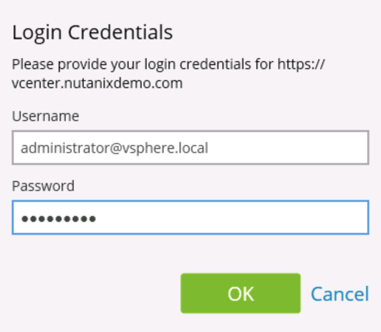
Enter vCenter username and password, then click Ok.
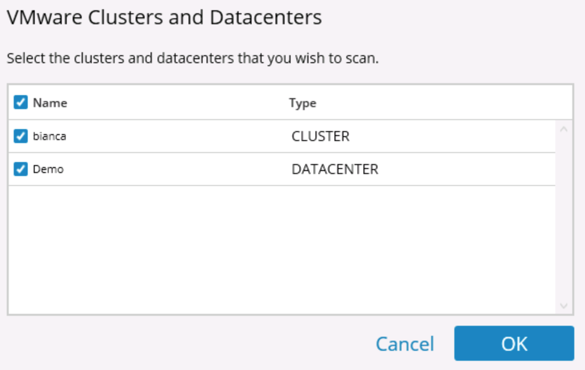
Verify the VMware Clusters and Datacenters are correct, and click Ok.
Select the capture duration, and click Start Capture. For this exercise we will use 10 minutes.

When the collection completes, it will put the SIOKIT it generates in the same directory as the LiveOpticsDotNet4_5.exe.
Now, in a web browser open https://www.liveoptics.com and login.
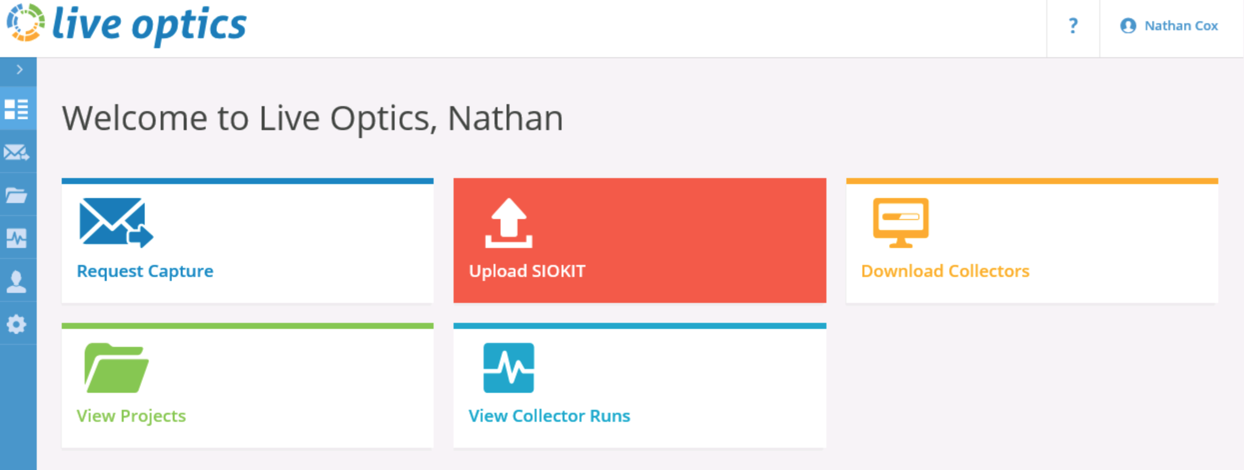
Click on Upload SIOKIT.
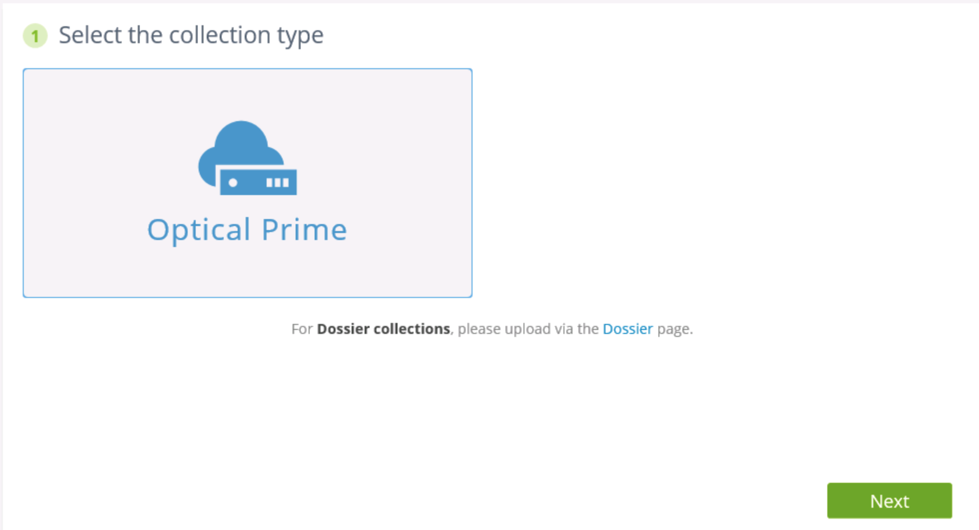
Select Optical Prime for the collection type, and click Next.
Enter a project name, and click Next.

Browse to the SIOKIT file that was generated, and click Upload.

Go to View Projects.
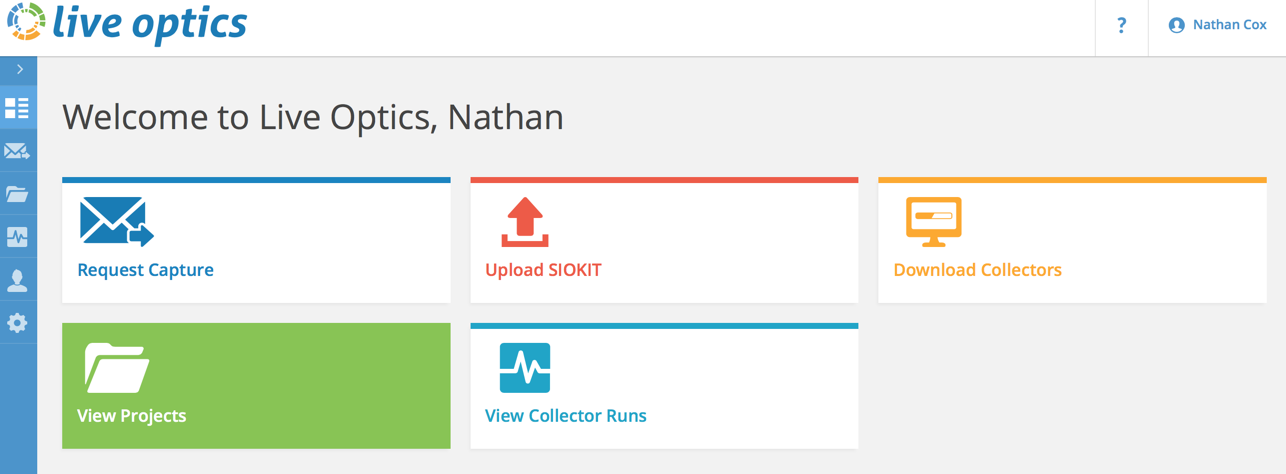
You should now see the project we created previously.
To review the findings, click Actions and select View Project.
You have 2 views to look at the data. The Environment View, and the Performance View.
These provide information that you can use to size the platform (Storage activity, CPU, RAM, etc.)
The Environment View.

The Performance View.

You can take this data, and present it in a report to a prospect or customer in Power Point or PDF format.
To generate these reports, go to View Projects, click Actions and select View Reports.
You now have the option to select what you want to include in the Power Point and/or PDF report. Select the options you would like, and click Create Report.
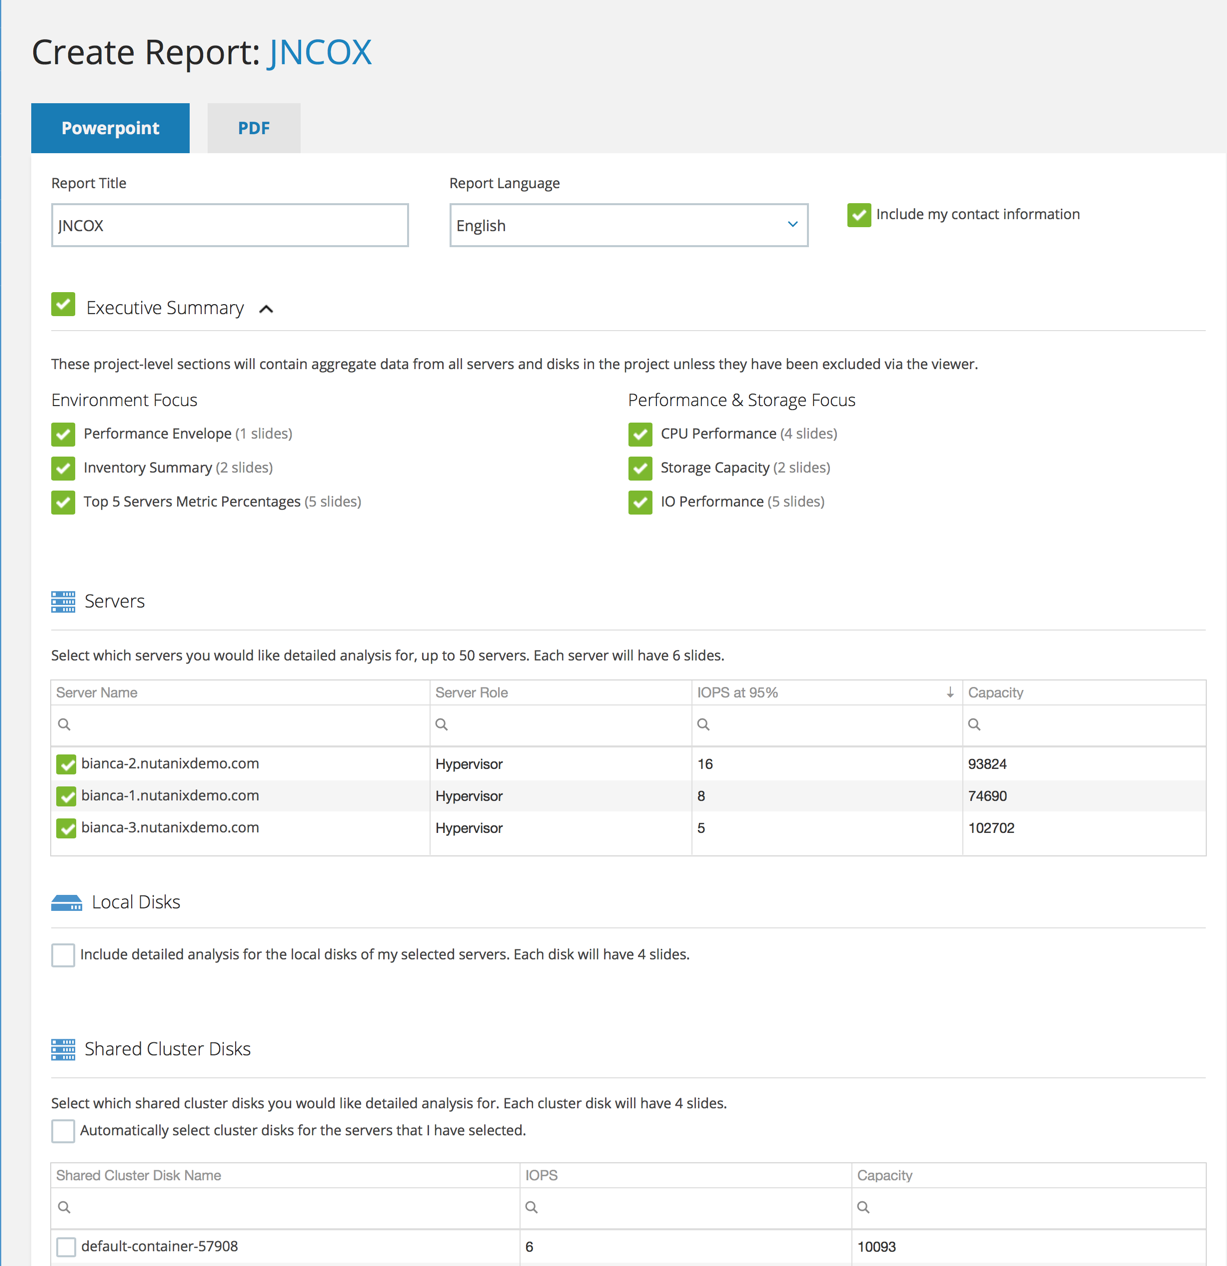
Going through a Live Optics report during a meeting with your customer provides added value for several reasons: